
Cart
0
You may also like
If you're a beginner who only recently realized you need to maintain your cue tip, or if you just want a better understanding of the basics, this article will walk through everything you need to know. We'll cover the differences between soft, medium, and hard tips, and also talk about durability, price, and why the cheapest option isn't always the best value. We'll show you how to prevent miscues, how to chalk properly, and even how to install a tip yourself if you're feeling adventurous.
The bottom line is that the right tip is the one that works for your game. By the end of this article, you'll have the knowledge and confidence to find it. Let's get started.
While you might feel overwhelmed by your options, it’s important to remember that there is no secret tip that will instantly elevate your game. The greatest players in history have won world championships with soft tips, hard tips, and everything in between.
So take a deep breath and remember that the "right" tip is simply the one that you like and feel works best for you. You just need a little knowledge and some time to experiment to find that fit.
A soft tip compresses significantly when it strikes the cue ball. This "grip" creates more friction for longer, which allows you to impart maximum spin (English) with less effort. However, that squishiness absorbs some of the kinetic energy, meaning you have to hit a little harder for power. Because it holds chalk so well, it’s the go-to for advanced players who rely on heavy draw or follow.
A hard tip, on the other hand, barely compresses. It transfers almost all of your stroke's energy directly into the ball, resulting in a crisp, "punchy" hit and superior feedback. But it holds chalk less effectively, increasing the risk of a miscue if your stroke isn't perfect. Medium tips sit comfortably in the middle, offering a balanced blend of spin and power.
No one can tell you which tip is best, because you have to find out for yourself, and that means trying different things. When you experiment, focus on feedback. How does the tip sound when you hit center-ball? Does a soft tip mute the feedback too much, making you feel disconnected? Or does a hard tip vibrate too sharply in your fingers? Give each tip at least a few sessions to break in before you make a judgment call.
A $5 soft tip might feel great initially, but if you are a heavy-spin player who practices daily, that tip could flatten out and harden up in just 8 weeks. Suddenly, you are paying $30 a year to replace it.
Conversely, a $30 layered leather tip might feel stiff for the first few days, but it will hold its shape for over a year of consistent play. That breaks down to just $2.50 a month. Durability is a feature, not a bonus. If a tip can survive 300 racks without glazing over, it justifies a higher price tag. But keep the big picture in mind, too. The cost of the tip is negligible compared to the cost of losing a match because your tip failed at a critical moment.
Recommended for: Beginners, recreational players, or anyone who wants to experiment without commitment.
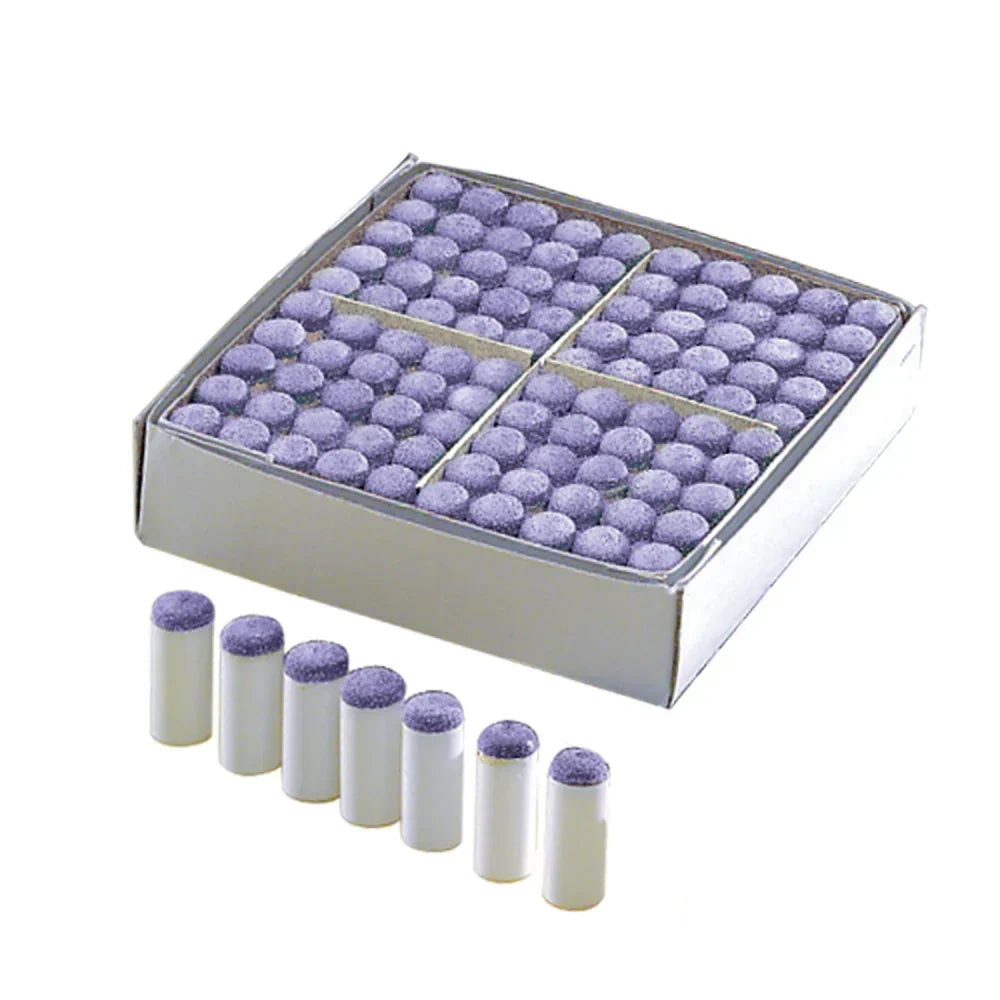
If you're not ready to have your cue permanently modified, slip-on tips are a genius entry point. These slide right over your existing ferrule, allowing you to test a soft tip without any glue or professional installation. This is the ideal choice for casual players who want to add some English to their shots without worrying about miscues. It’s a low-risk, high-reward way to see if a softer feel suits your game.

Recommended for: Players who want durability, a crisp hit, and the ultimate convenience.
Sometimes you don't have time to wait for glue to dry. Screw-on tips thread directly onto a compatible ferrule, giving you a fresh, playable tip in seconds. This tip is a tank; it holds its shape for a long time, resists glazing, and delivers consistent feedback shot after shot. It's perfect for players who prioritize longevity, break cues, or simply want a repair option that doesn't require a trip to the shop.

Recommended for: Serious players seeking premium feel and high-end performance.
If you're ready to invest in your game, pigskin leather is a step above standard cowhide. It's firmer than a standard soft tip but grabs the ball with a grip that rivals much softer options. This gives the control and spin generation of a soft tip with the feedback and durability of a medium-hard one.

You can reasonably spend anywhere between $5 and $40 for the tip itself. For name brands like Tiger, Kamui, and Ultraskin, expect to pay between $15-$30. High-end pigskin, proprietary blends, or special treatments can cost upwards of $30.
A heavy player (4+ sessions a week) should replace a medium tip every 6–8 months. A casual player (once a week) can often go a full year or more. Check your tip monthly by running your thumbnail across the surface. If it feels slick instead of grippy, it's time to act.
Here are five signs it's time to change out your tip:
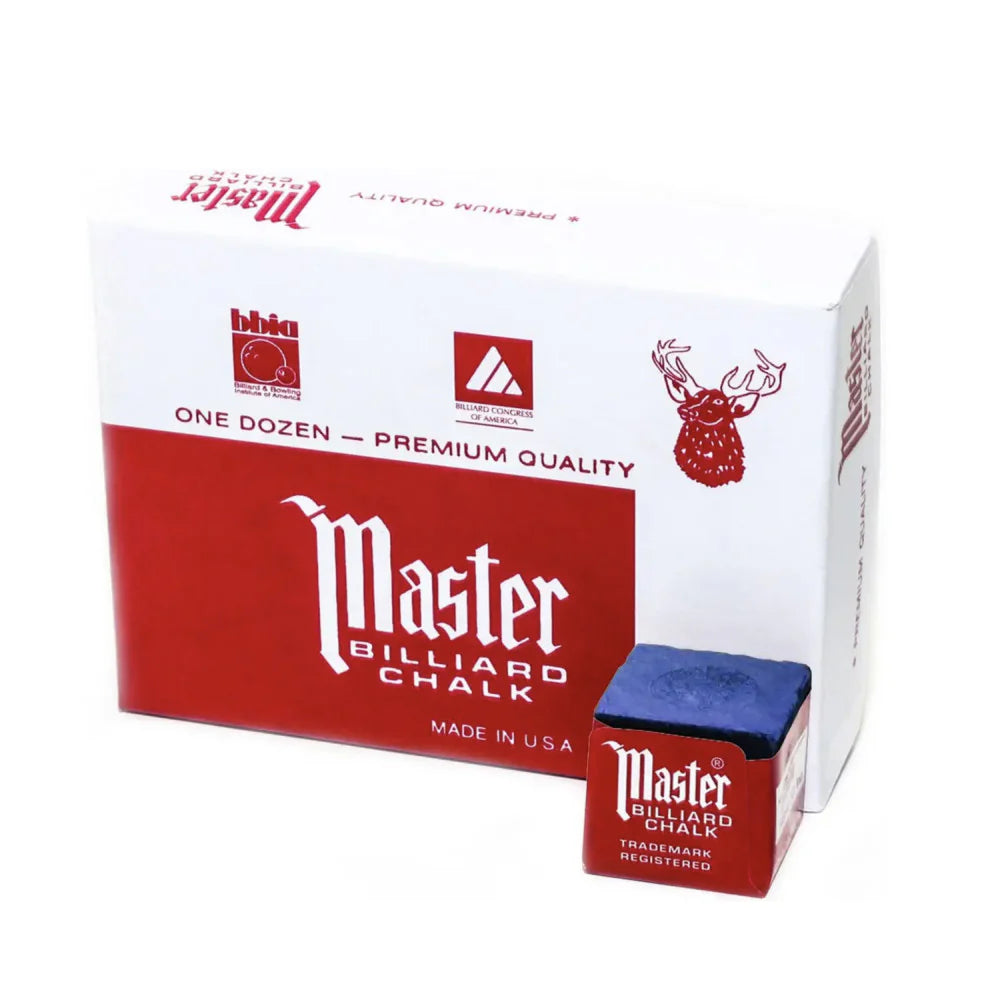
Chalking is your primary defense against miscues. Scuff the chalk onto the tip using a light, brushing motion, like you're roughing up the surface. The goal is to get chalk into the leather pores, not just sitting on top.
How Often? Every single shot. Not every other shot. Not when you "feel" like it. Every. Single. Shot. It takes two seconds and eliminates the variable of inadequate chalk.
One or two light passes are plenty. Grinding the chalk like you're trying to start a fire wears down your tip faster and creates a dusty mess on the table.
Check out the video below to learn more about great chalking technique:
Installing a cue tip isn't brain surgery, but it does require patience, the right tools, and a steady hand. You have two paths: professional installation (highly recommended for premium tips) or DIY (suitable for slip-on, screw-on, or if you're handy and have the equipment).
If you're determined to DIY, here's the basic workflow:
Before you begin, prepare your workspace. You will need your cue, the new tip, your repair tool, and a bottle of cyanoacrylate (super glue) designed for cue tips . Many players also recommend taping off the ferrule with masking tape to protect it from accidental scratches and glue .
Carefully cut off the old tip using the blade on your repair tool or a separate, sharp razor blade . Work slowly and be extremely cautious not to nick or gouge the ferrule. If any residue remains on the ferrule, gently scrape it off using the tool.
Take your new tip and scuff the flat side that will be glued to the ferrule. This creates a rough surface for the glue to grip, which is crucial for a strong bond. Some tools also have a feature to press the tip into a hole to ensure it's perfectly flat before gluing.
Apply a thin, even layer of glue to either the ferrule or the prepared side of the new tip. Carefully align the new tip on the center of the ferrule and press it firmly into place. To hold it securely while the glue sets, you'll need a tip clamp (included in most repair kits). Slide the clamp over the shaft and tip, ensuring even pressure, and allow it to dry for at least 15-20 minutes to be safe.
Once the glue is fully dry, remove the clamp. Now, use the side-cutter function of your repair tool to trim the excess leather from the sides of the tip, making it flush with the ferrule. The tool's design often includes slots that guide the blade, but work slowly and check your progress frequently to avoid shaving any material off the ferrule itself.
This is a critical step for playability. Your repair tool will have a curved sanding surface designed for shaping the tip. Position the tool over the tip and rotate it with light, even pressure to create a smooth, consistent dome. Decide whether you prefer a nickel or dime radius; a nickel radius is a common starting point for most players. Be patient and remove material gradually because you can't add it back .
With the tip shaped to your preferred profile, use the tool's scuffer or needle to lightly rough up the playing surface. This opens the leather pores so it will hold chalk properly. Finally, apply a good layer of chalk, and your cue is ready to play.
From slip-on soft tips to experiment with to screw-on hard tips for quick repairs to premium tips for tournament-level performance, Cue Pros has you covered. Our VIP Inner Circle members also get exclusive previews, pro-level maintenance tips, and member-only discounts.
Explore our selection of pool cue accessories, and find the tip that works for you.


